Hi there! I’m Hayley Justice in case you haven’t visited my Blog before!
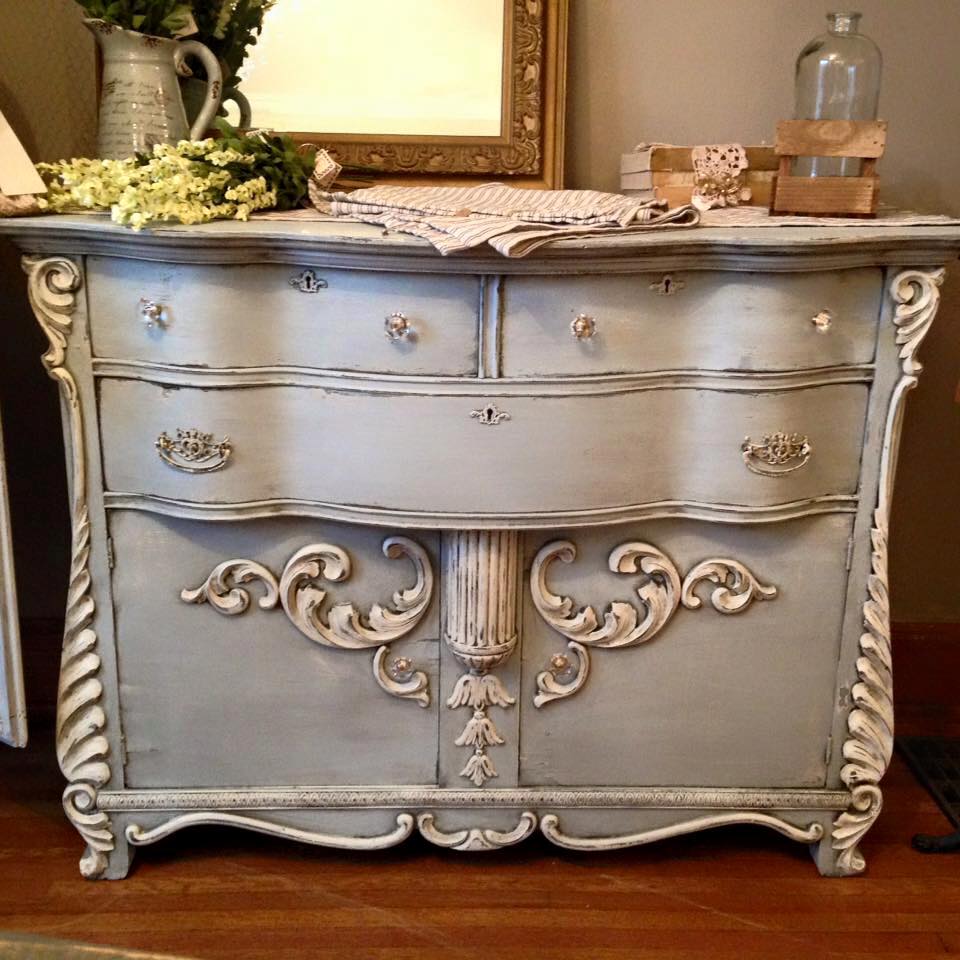
A few months ago I came across a piece another Fusion lover Betsy Crist from Old World New Home in the USA had created with a custom mix of Fusion Mineral Paint’s Little Lamb & Little Whale and contrasted with Limestone. The cherry on top that really made Betsy’s colour scheme steal my heart was the mix of Fusion’s Clear Glaze with some Ash & some Chocolate to make the perfect smokey grey glaze. The Clear Glaze can be made into a coloured glaze with addition of any colour you wish! (the sample sized pots and Tinting Kits are fabulous for making coloured glazes!)
Here’s Betsy’s piece….isn’t it just AHmazing! Oh to have furniture like this in Australia!
I was totally besotted but knew it needed to be ‘just the right piece’ to really show off this gorgeous combo. As luck would have it I found the perfect piece on our local buy and sell and pounced on it! The bonus? It had a matching mirror 🙂 (of course I can’t find the photo I took of the table with the mirror so that will come later…)
Pretty ugly piece right? I’m sure that once upon a time it looked amazing to someone 😉
Now I KNOW you want to know just how to do the glazing…right? So as a bonus, I’m going to share some step by step glazing pics. 🙂
So here’s my ‘beautiful’ before…..
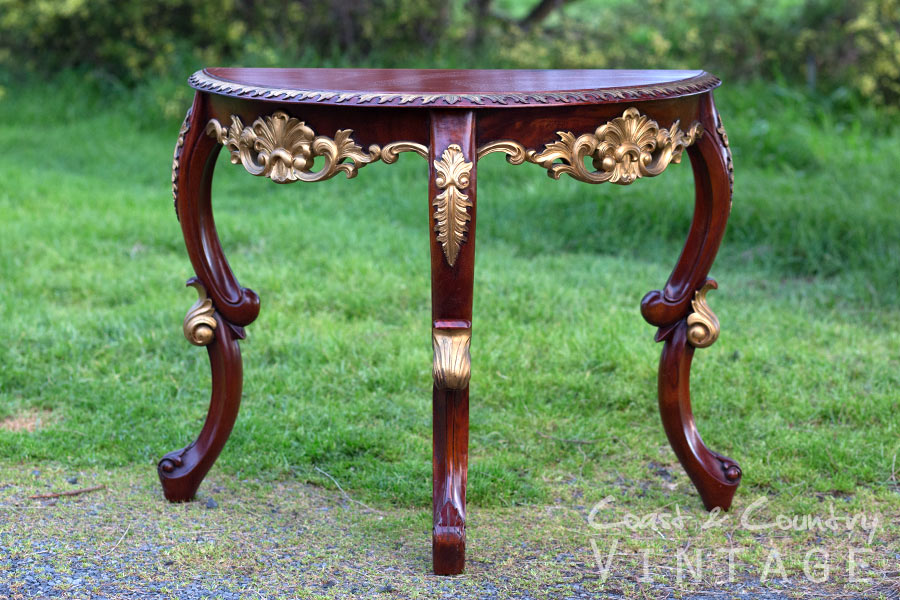
I sanded the piece all over and applied two coats of Zinsser Clear Bullseye Shellac (being an Indonesian piece there was a 99% chance that this piece was going to bleed tannins through my paint), then painted the piece with Betsy’s custom mix of two parts Little Whale to 1 part Little Lamb which produced the perfect French Blue. The top and detailed areas were painted with Limestone.
Before applying Fusion’s Glazes it’s important to let the paint dry for a few days. Why? Because the paint is water based and so is the glaze so adding the wet glaze to paint that’s not pretty well deep dry will result in you wiping some of your paint right off. Once past it’s 30 day curing time, Fusion is one of the most durable furniture paints on the market. Add to that the fact that it’s so eco friendly (zero VOC’s) then it’s always a winner in my eyes.
I mixed about a teaspoon each of Ash & Chocolate into about 1/4 cup of clear glaze (which was FAR too much for this project but the best news is that the mixed glazes will keep for months if covered properly!
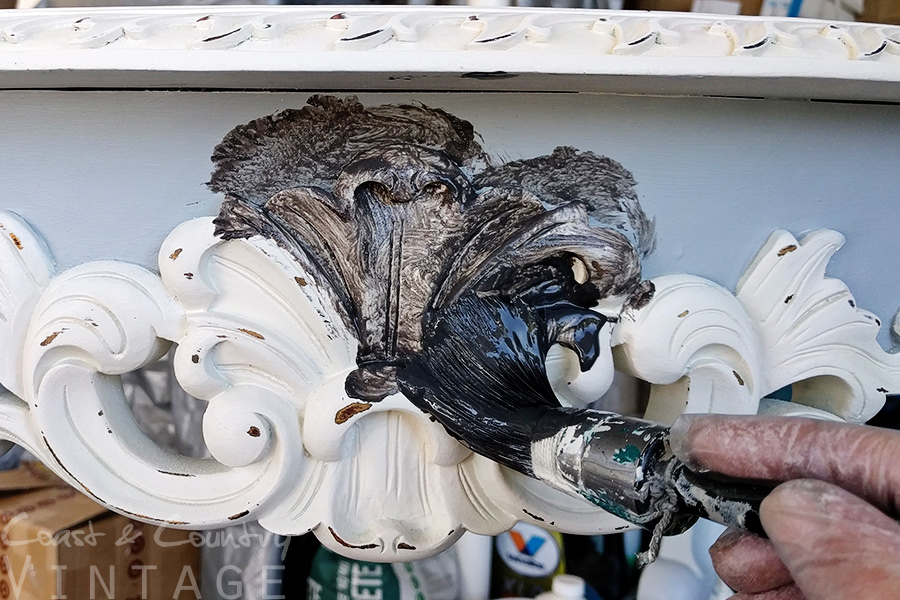
Use a brush to apply the glaze in small sections, swirling it into all the cracks and crevices. Wear gloves for this unless you want colour fingernails!
 Once you’ve covered a section, use a clean Chux brand cloth (not the cheap knock offs as they leave lint!) to wipe away the excess. Keep wiping until you have the look you want.
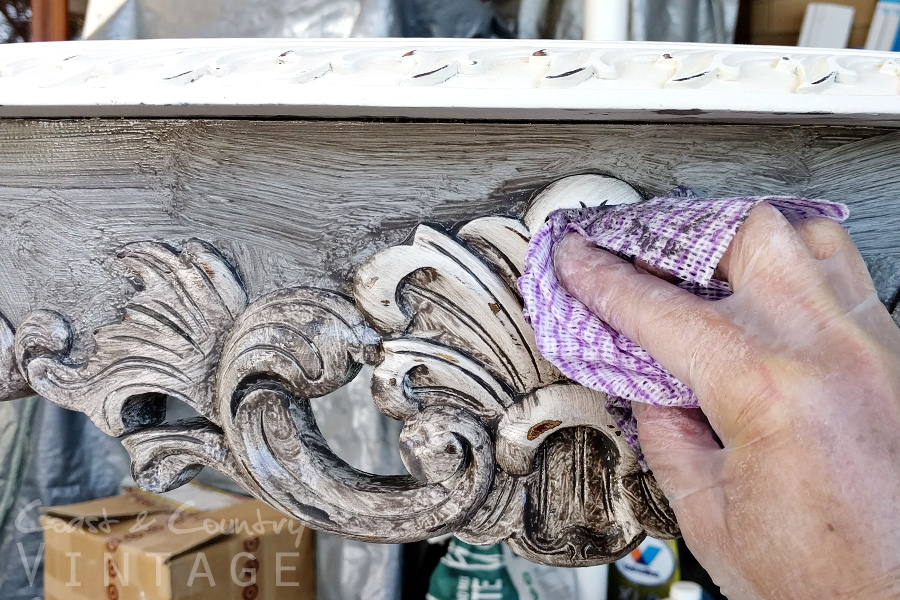
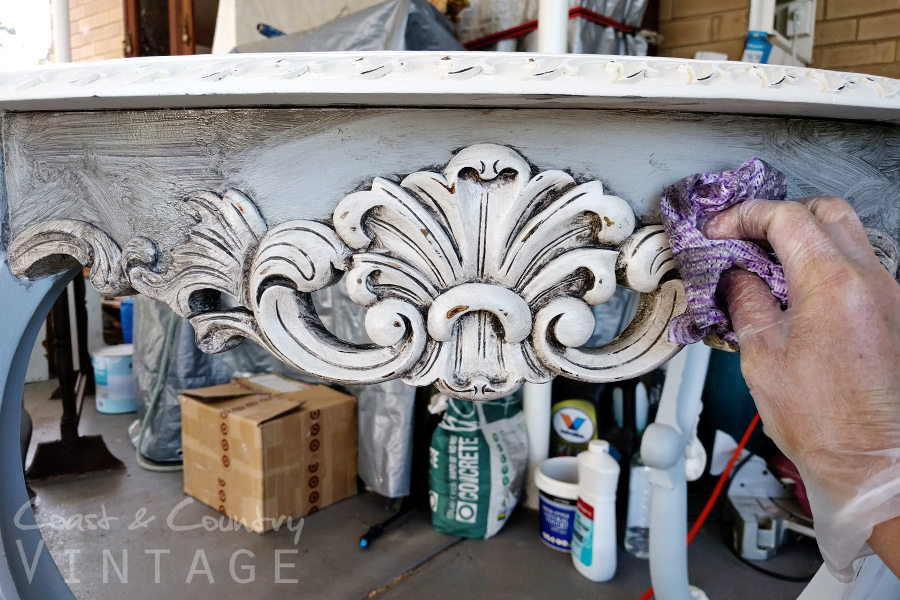
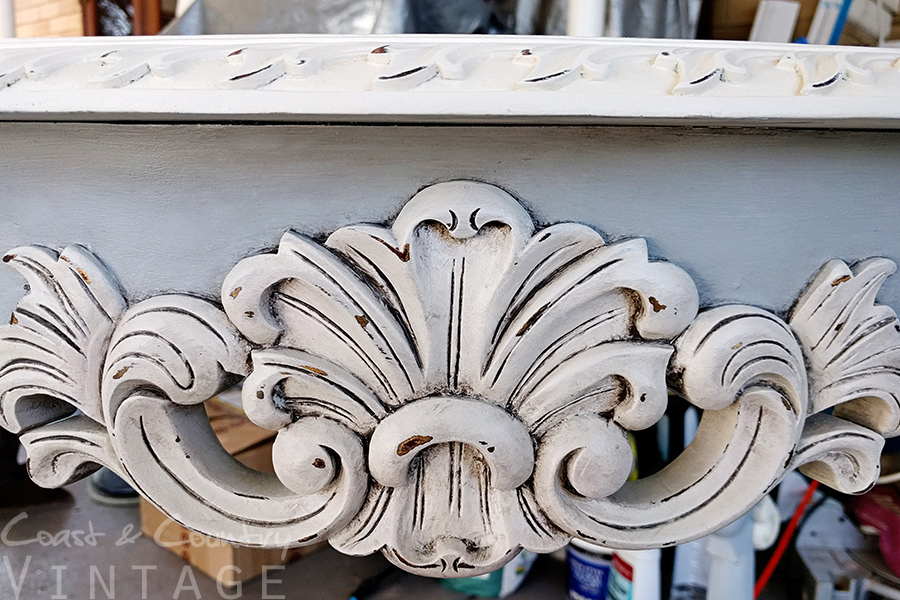 Then start on another section. Start and finish at an edge so you don’t go over sections more than once or you’ll get different shading. You have about 10-15 minutes to work with the glaze before it starts to dry properly. If you don’t like what you have done just grab a damp Chux and wipe it right off 🙂
I did the whole top section of this piece in one go.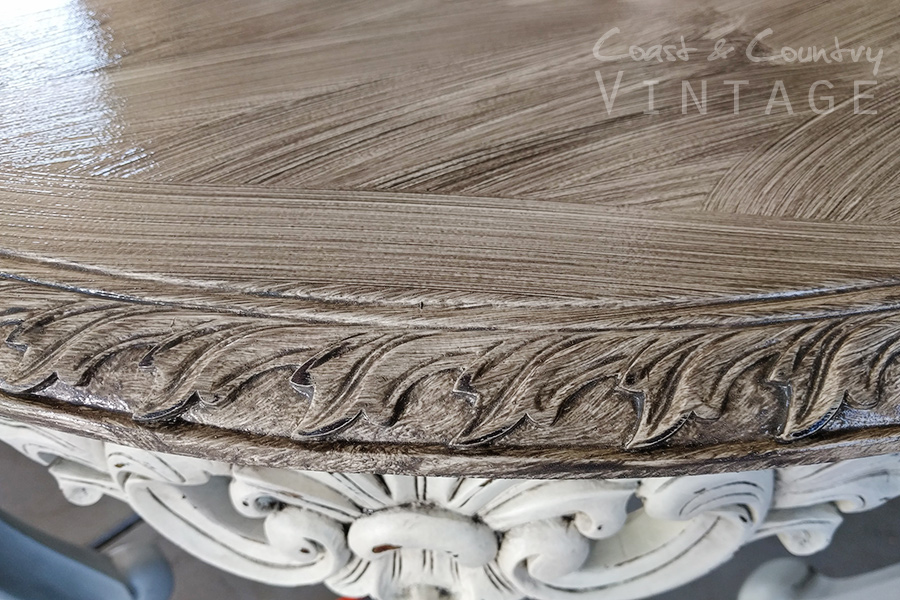
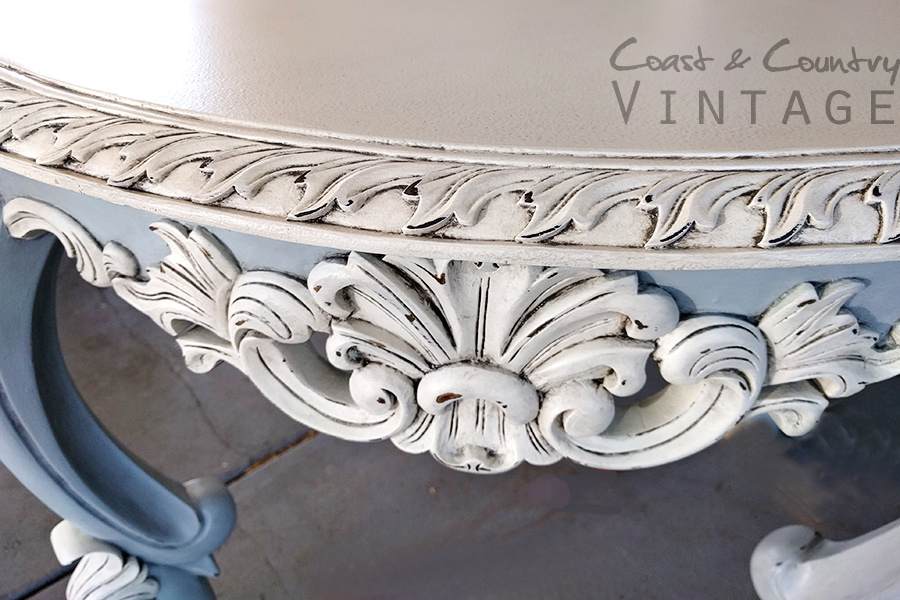
Pretty huh?
And here’s the finished piece all staged and ready for sale. This piece is at Waverley Antiques Bazaar if you’re interested in adding this gorgeous piece to your home!
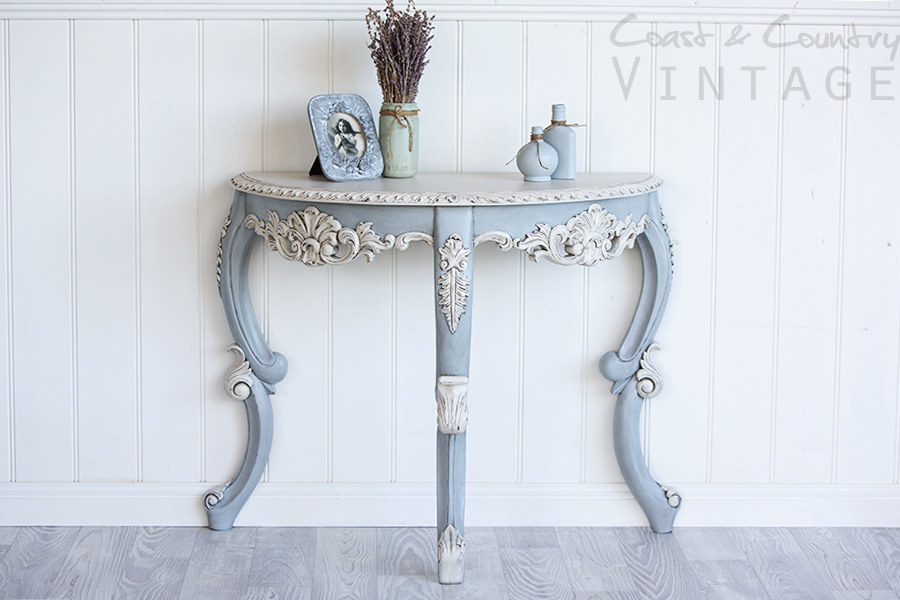
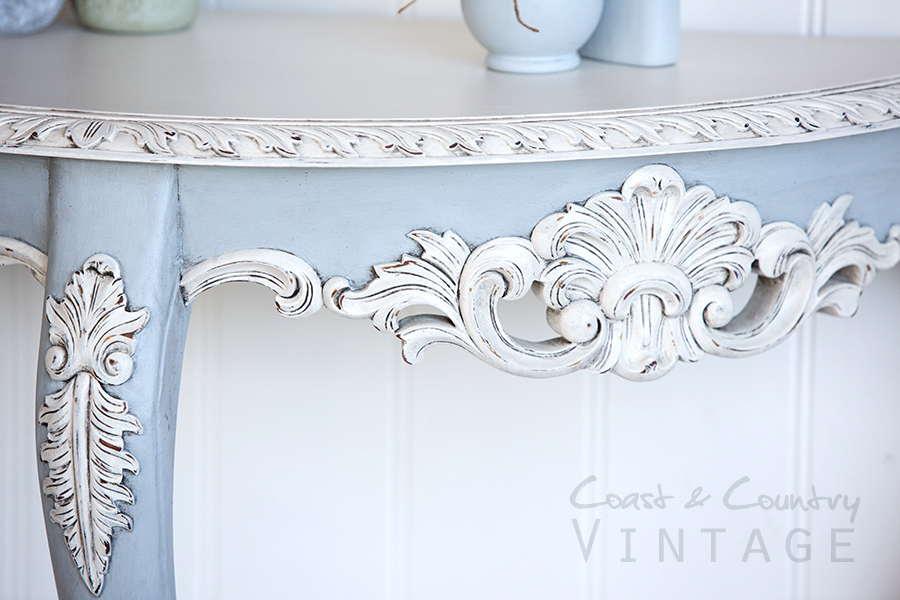
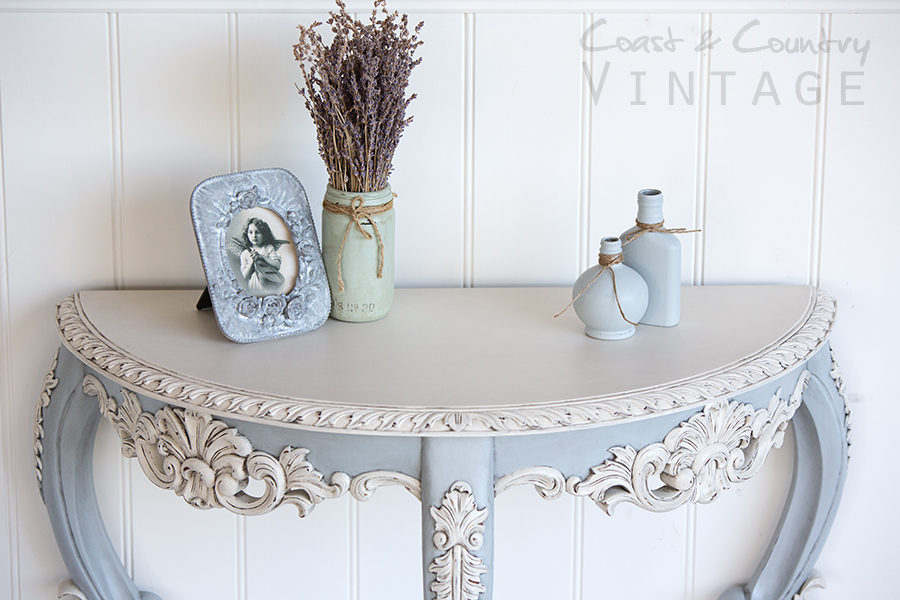
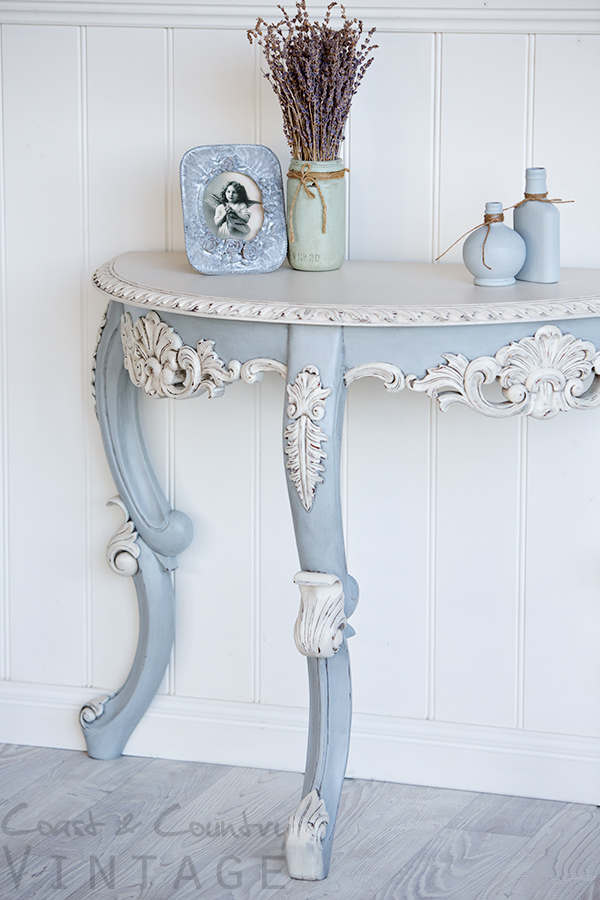
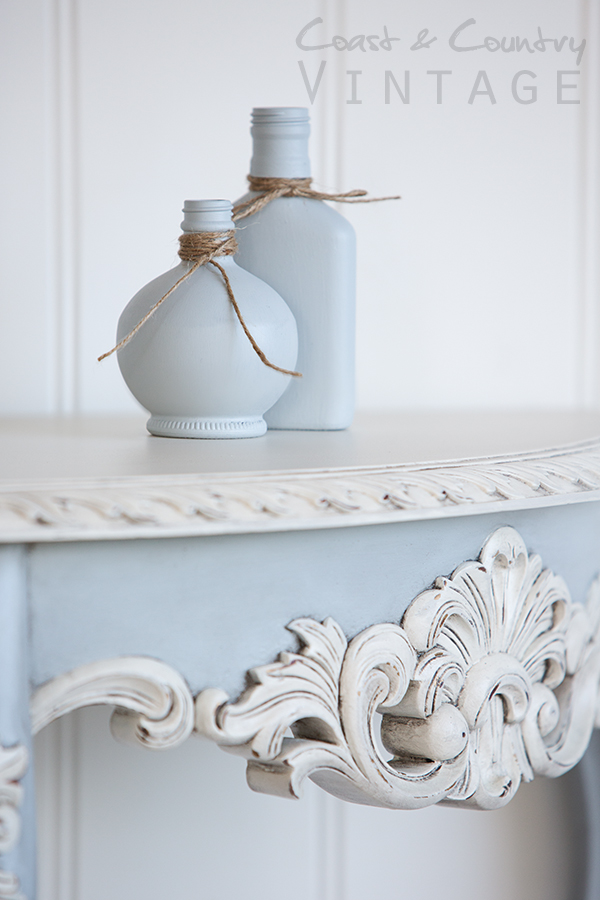
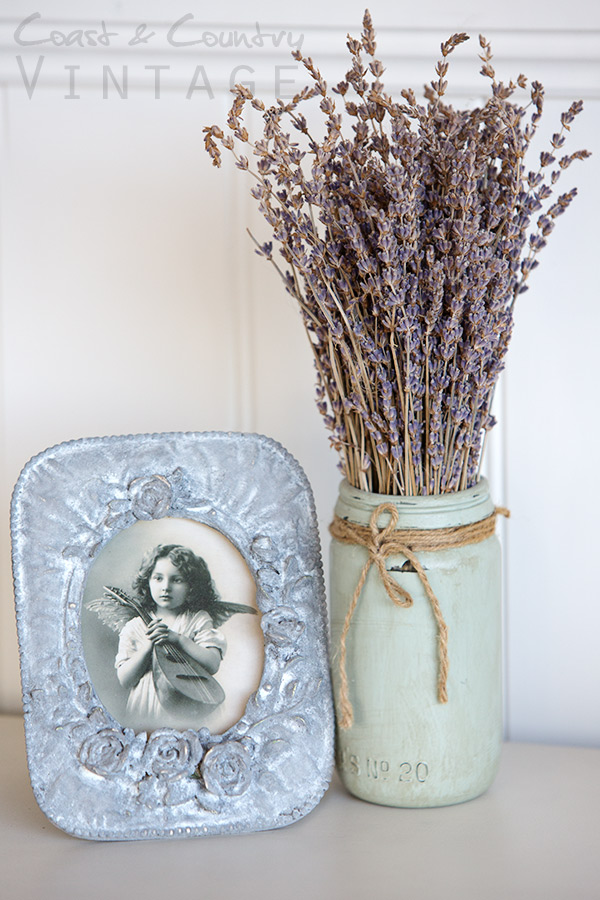
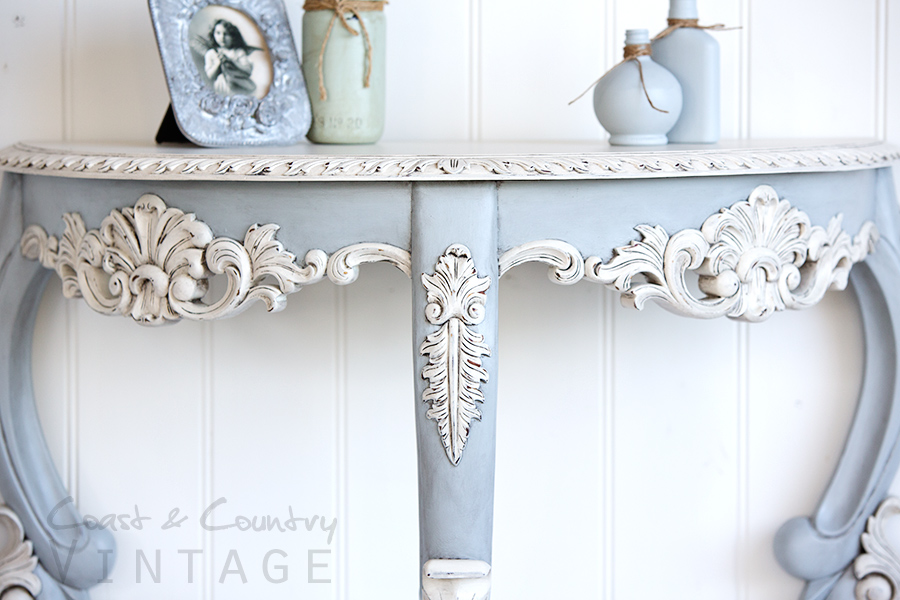
From just plain tacky…to Ooh La La French!
A short time ago I did a live video on Facebook showing how to apply the Fusion Antiquing Glaze if you’d like to take a peek! Just click here !


What a beautiful piece…..love how it turned out!
Awesome job, this is absolutely stunning!
Stunning love love love it!!!❤️❤️❤️
Absolutely stunning Hayley!
[…] the original blog post here for how to instructions on creating and applying the glaze. Wiping back the excess to a beautiful […]
Stunning Piece… L♡VE the Colour choice☺