Adding a graphic to your painted furniture piece is a great way to add interest and flair. But it’s also one of the most frustrating! There are many different methods out there on the internet and I have tried most of them….but with the exception of one or two slightly hit and miss methods I’ve not settled any particular ‘goto’ method. I’ve tried a few transfer mediums and each of them seems to leave a milky residue of paper that just can’t be removed. When I found out the Fusion Mineral Paint products included a Transfer Gel….I pinned my high hopes on it being better than what I had tried. So when my stock arrived last week it was the first product I ‘road tested’. I printed out two graphics (in reverse), one on my regular Inkjet printer and two on my Laser printer as I wanted to test both. 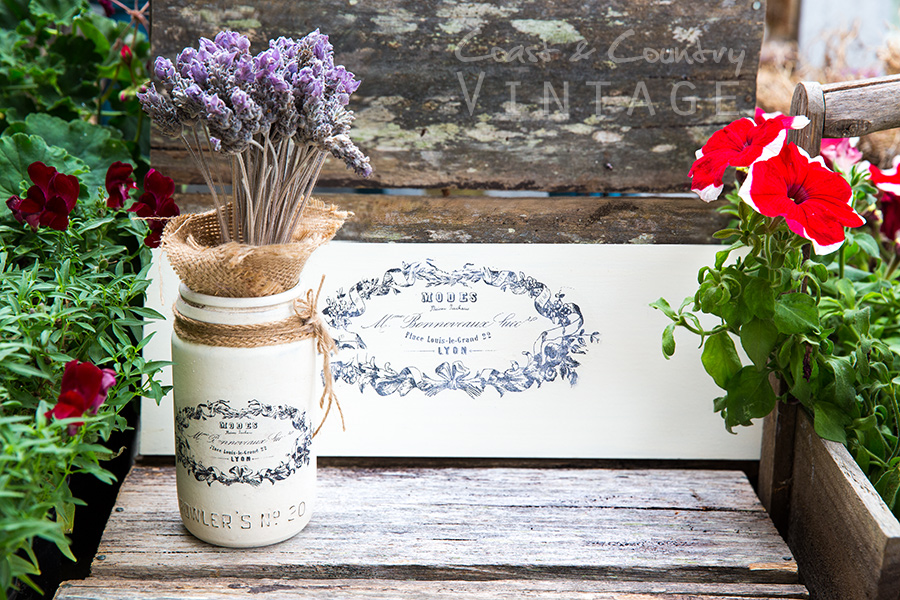 I happened to have two identical boards painted with Miss Mustard Seed’s Milk Paint in Linen left over from another project and I also had a Vintage Fowler’s Jar painted in the same colour so these were ideal to test this on. I forgot to take pics of applying the gel but it’s not rocket science. I just cut each graphic out fairly close to the printing, painted a layer of the gel over the graphic and laid it face down on the painted surface, smoothing it gently. You need to then go over it with a credit card or something similar to smooth out any air bubbles because anywhere the paper is not contacting the painted surface there will be no image transferred.
 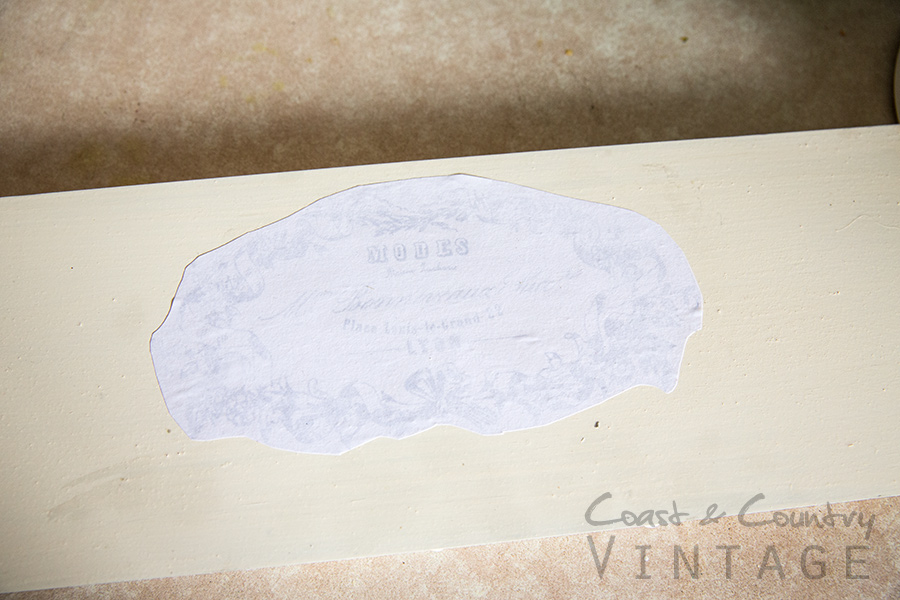 Allow to dry a minimum of 12 hours (I think this depends largely on the weather…if it’s cold I’d be giving it 24 hours) then take a damp cloth and wet the paper. Dampen it well so you can see the graphic quite well through the paper.
 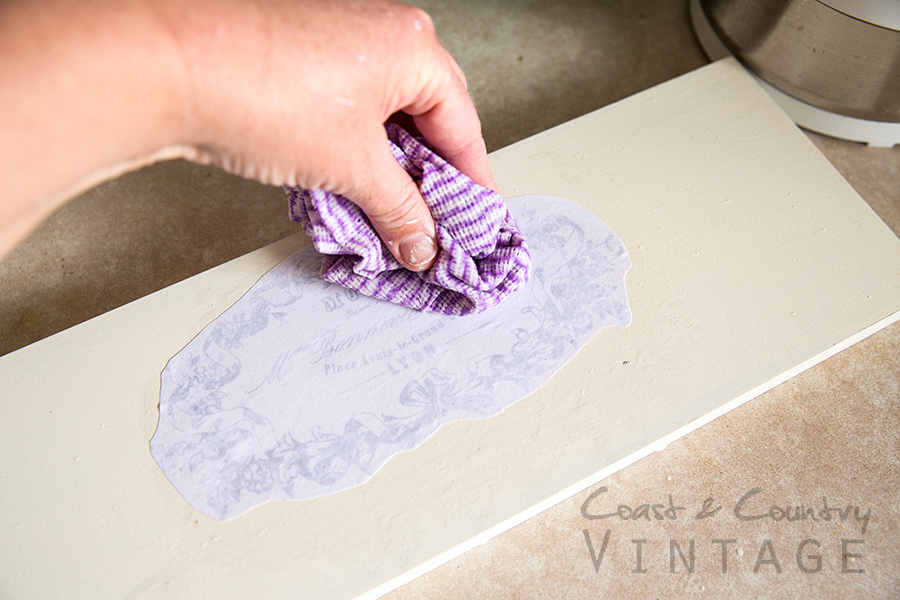 Once the paper is wet, gently start to rub the paper away in circular motion with your thumb or forefinger. You really need to exercise a little patience here as if you rub too vigorously you will rub off some of your print…no matter what gel medium you use! As it starts to dry and get harder to rub gently, dampen it again with your cloth.
 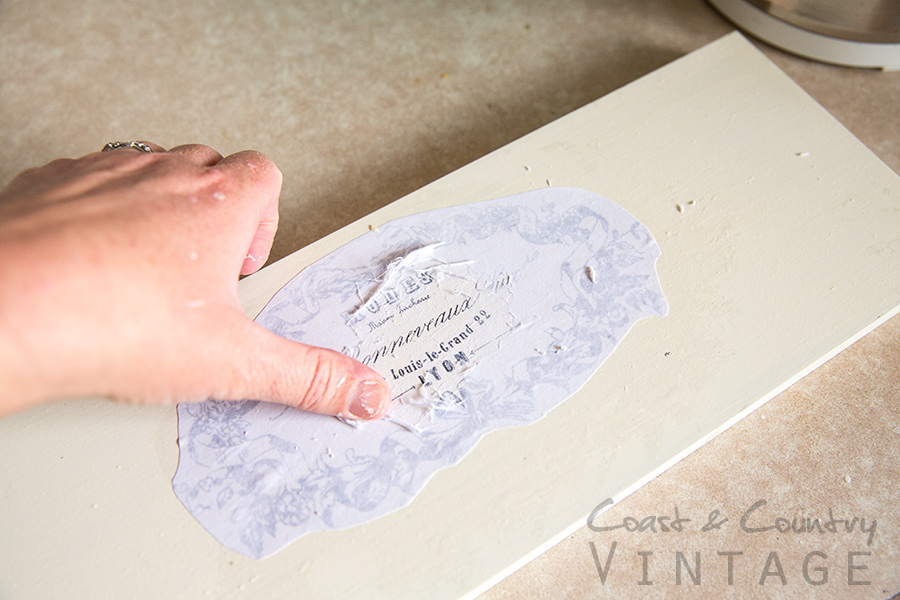 Once you have repeated this process a couple of times you should be getting to the stage where you have areas with no paper showing, where your painted background colour is showing clearly. If you still have more paper to remove you’ll be able to see it as it dries out a little. This image shows the process 3/4 there but you can still see a thin layer of paper in places. So dampen again and rub…more gently as you get closer to the end. At this stage you need to take it slowly…patience,patience.
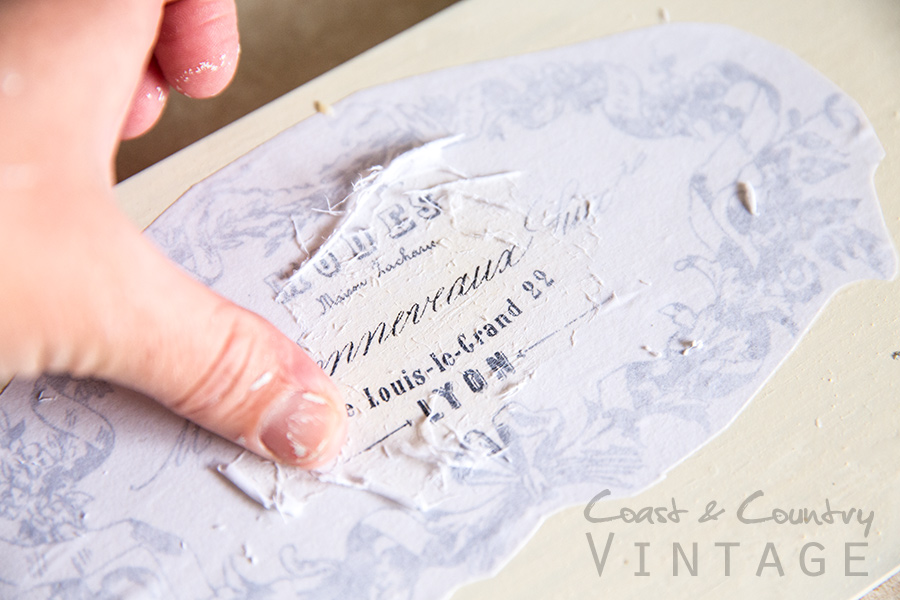 I decided it was going so well that I would see if I could get away with rubbing more vigorously. I couldn’t. And my impatience cost me the far left side of the ribbon in my graphic. Silly girl. So do as I say, not as I do 😉
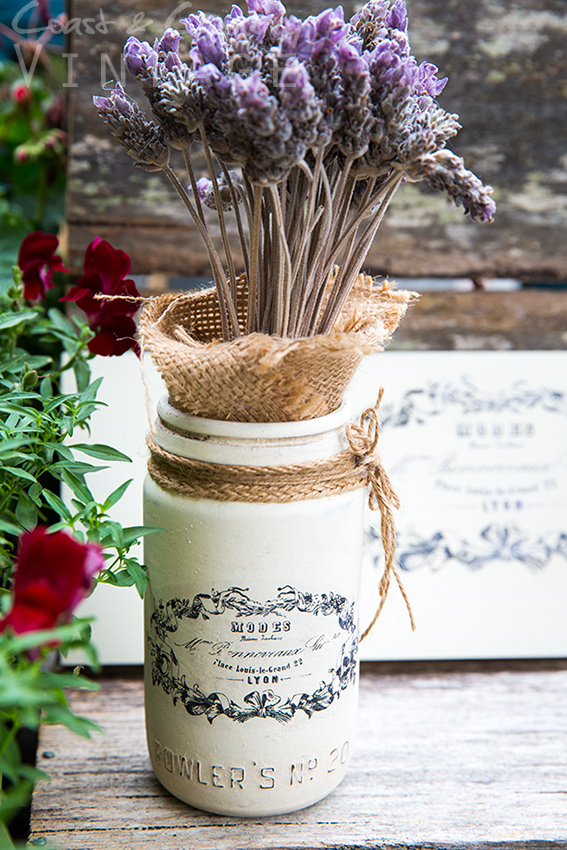
I intended to sand the graphic once finished to roughen it up a little anyway so it didn’t matter too much but I was more gentle with the next one! The first one I tried was the Laser print which is the one in the pictures. After this one I did the one printed with the Inkjet printer. Chalk and cheese. It needs to be a Laser print or photocopy people. Whilst the Inkjet print worked to a degree…it smudged a lot as I was rubbing and I lost more of the graphic because the ink was dampened. Here’s the Laser printed one finished. No milky paper showing…nice crisp graphic…very nice result! If you find you can still see a little of the edge of the dried gel outline, just sand it with some fine grit sandpaper until it blends in better.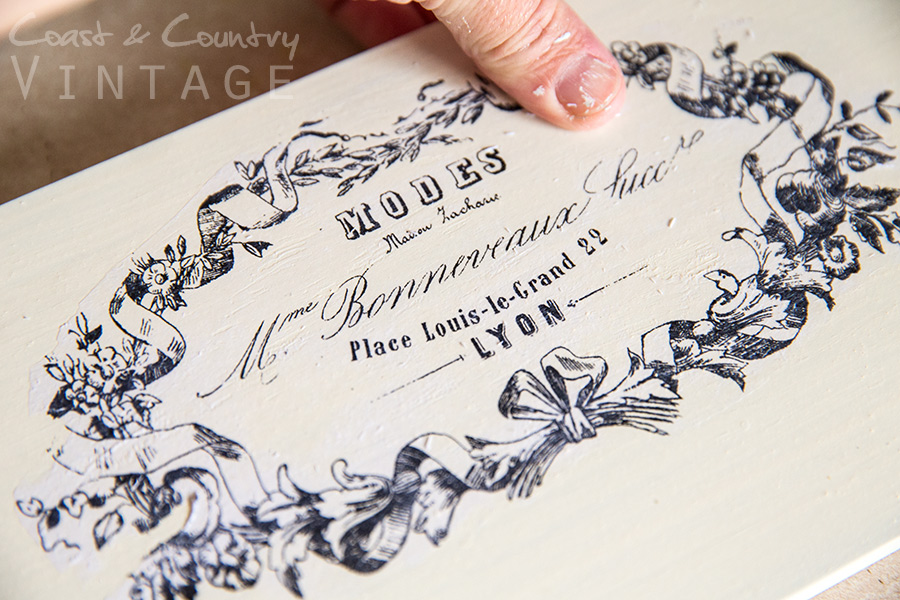 I went on to complete the smaller one on the Fowler’s Jar, this time rubbing more gently. The end result – beautiful and no milkiness!
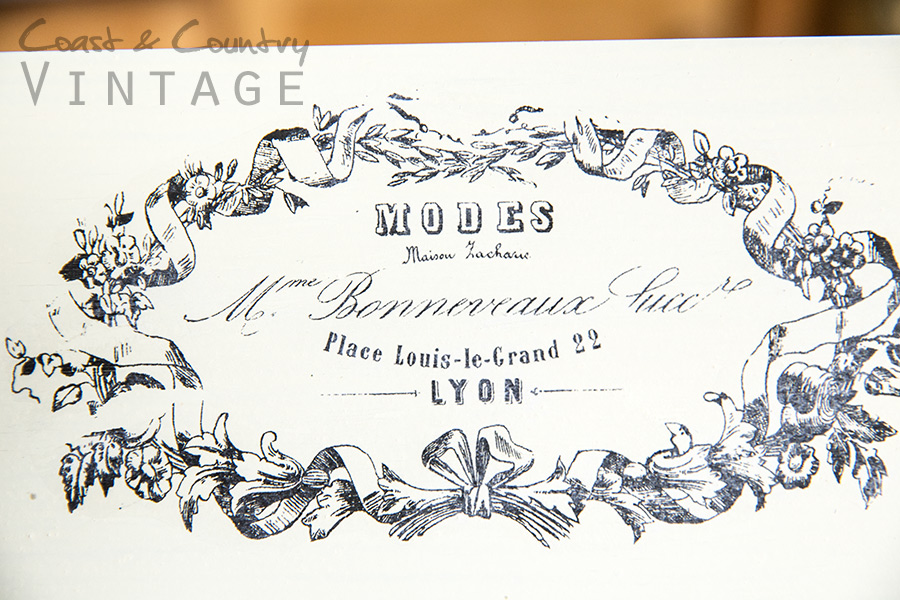
 I’m pretty sold on this gel! Check out the Fusion Transfer Gel here with all the other amazing Fusion products. Can’t wait to work my way through them all and experiment! So many ideas and possibilities! I’m going to make the wood piece into a key ring holder for my entry wall…just need to get some pretty hooks to add. 🙂

Fusion Transfer Gel
February 18, 2015


Great job! Looks lovely. I love doing these transfers. Used to use Mod Podge, but sold on the new Fusion Transfer Gel now.
xx
Looks great Hayley! Cant wait for my first order to arrive- looks better than the PVA I have been using!!! Love that there is no milkiness!
Looks fantastic… I am going to try that because I always hate the residue of mod podge glue left over around the transfer.